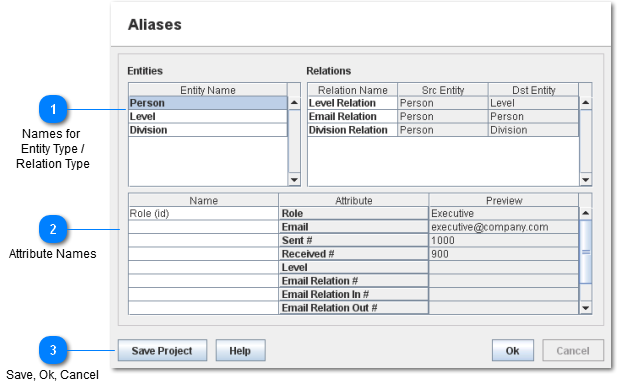
The Aliases page allows renaming entities, relations, and attributes. This affects how the names will be displayed in the rest of the Navigator GUI.
 Names for
Entity Type /
Relation Type
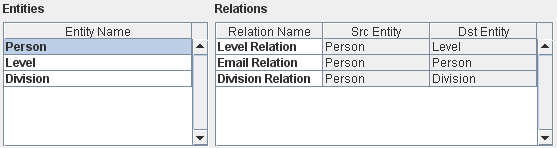
Clicking a row in the Entity Name / Relation Name column will make the text editable allowing you to change the name of the Entity Type or Relation Type.
The Entity Type / Relation Type names are displayed throughout the Navigator GUI once the data is loaded. They are also used to create names for dynamic attributes.
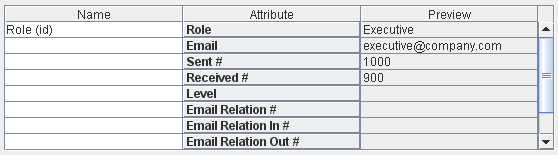
When a row in the Entities or Relations tables is selected the Attribute Names list below will be updated with the attributes for that Entity Type / Relation Type.
|
|
 Attribute Names
Clicking the Name column in the Attribute Names allows you to edit the name of that attribute. You can edit the names of both regular and dynamic attributes. These names will be displayed throughout the Navigator GUI once the data is loaded.
|
|
 Save, Ok, Cancel
-
Save Project: Saves the latest changes in the Project
-
Ok: Returns back to the Wizard Main Menu
-
Cancel: Disabled for now, the only way to undo changes is to press ok to go back and then press Cancel on the main Loading Wizard window.
-
Help: Takes you to this page of the help manual
|
|